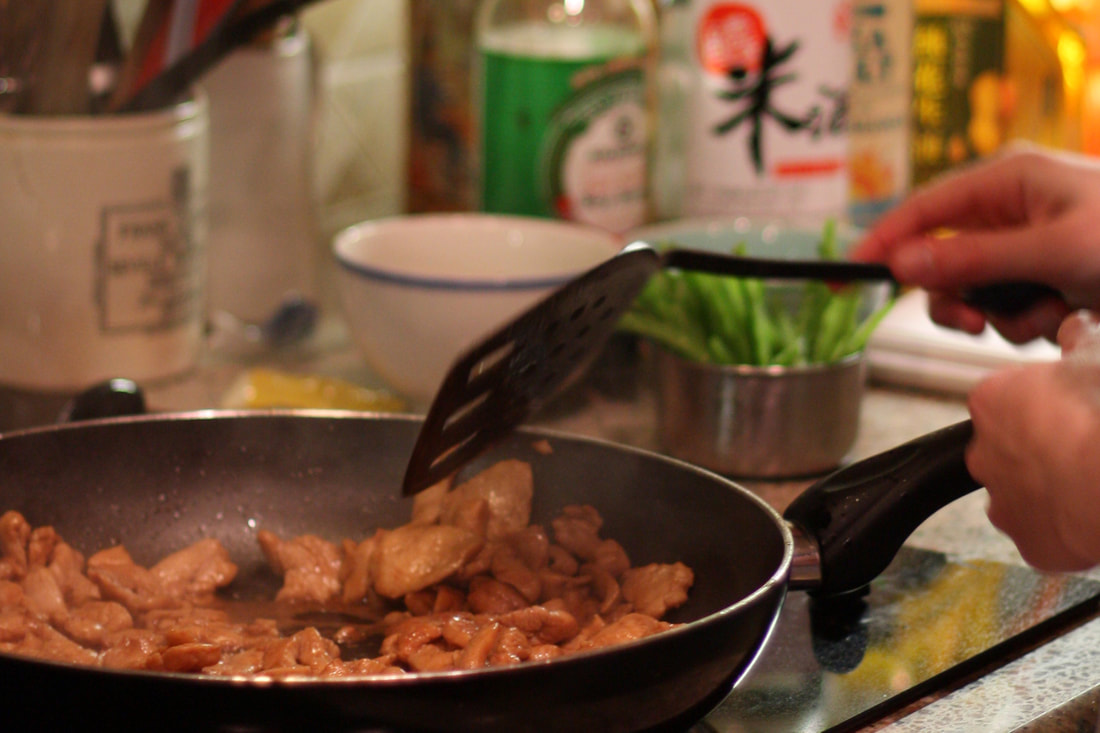
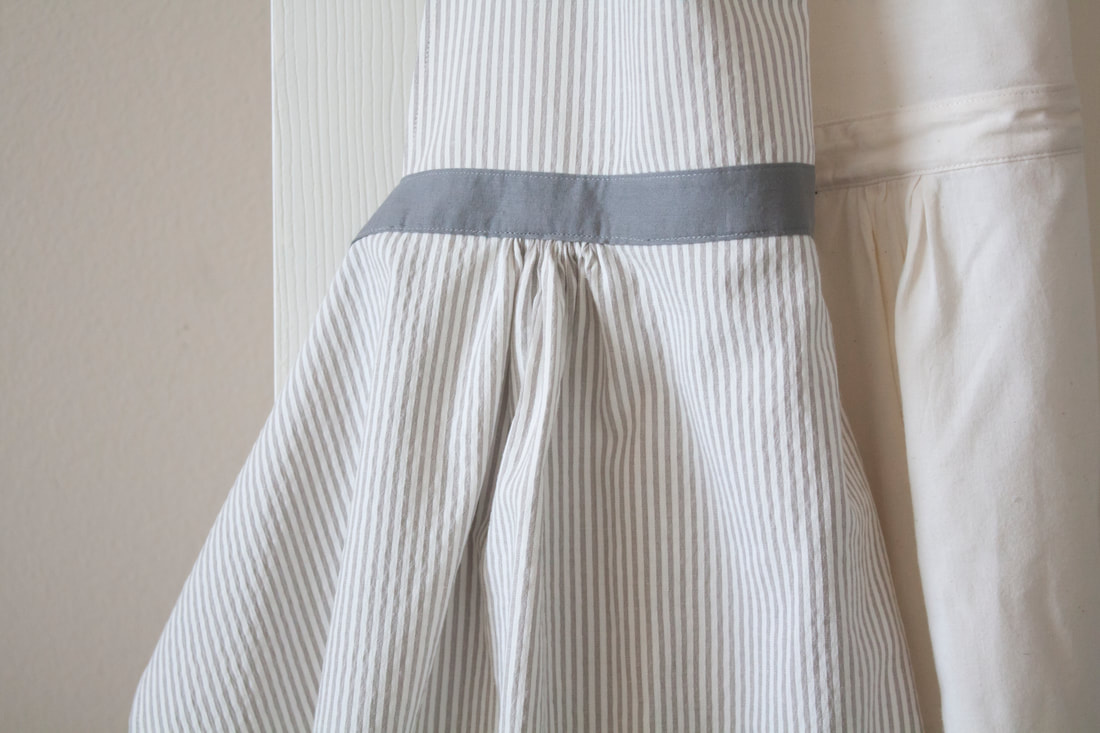
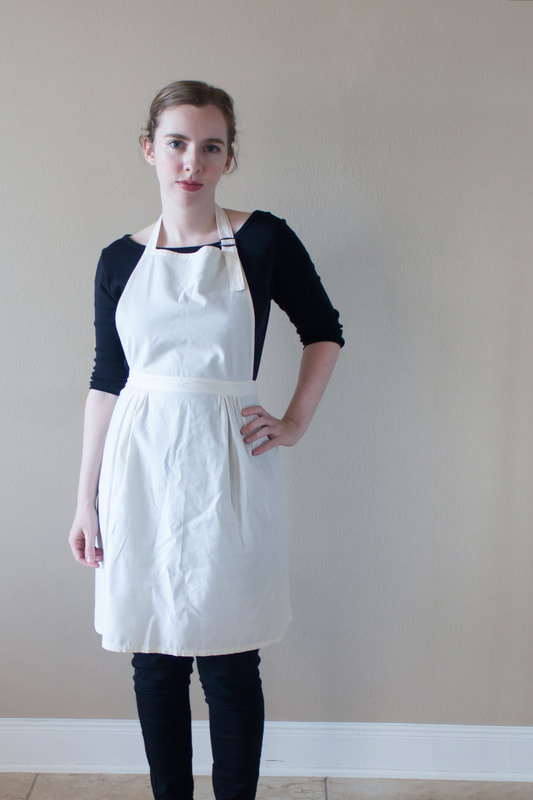
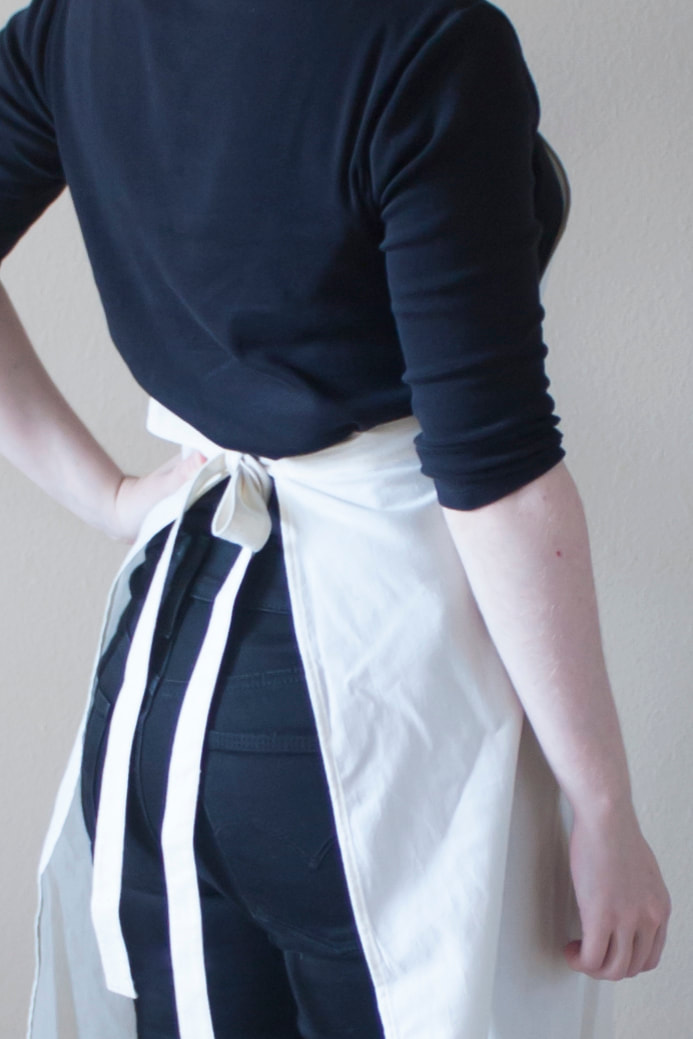
 The savory scent of soy sauce and tangy hints of fresh ginger filled the air as I stir-fried chicken into golden decadence. The sizzles and pops of peanut oil were music to my ears. Indeed, the finished product did not disappoint my tastebuds, either. But to my dismay, I later realized that the delightful peanut oil had splattered onto my shirt, leaving stubborn stains that wouldn't wash out. This would certainly be a meal I wouldn't soon forget. "Okay," I admitted to myself, "I guess aprons exist for a reason." I had an apron lying around that I had handmade when I was 12, but let's just say my taste has changed since then. Picture green awning fabric (it was on sale). I figured it was time for an upgrade. I wanted to design a kitchen apron that was functional, minimal, and feminine. Cue the sketching. 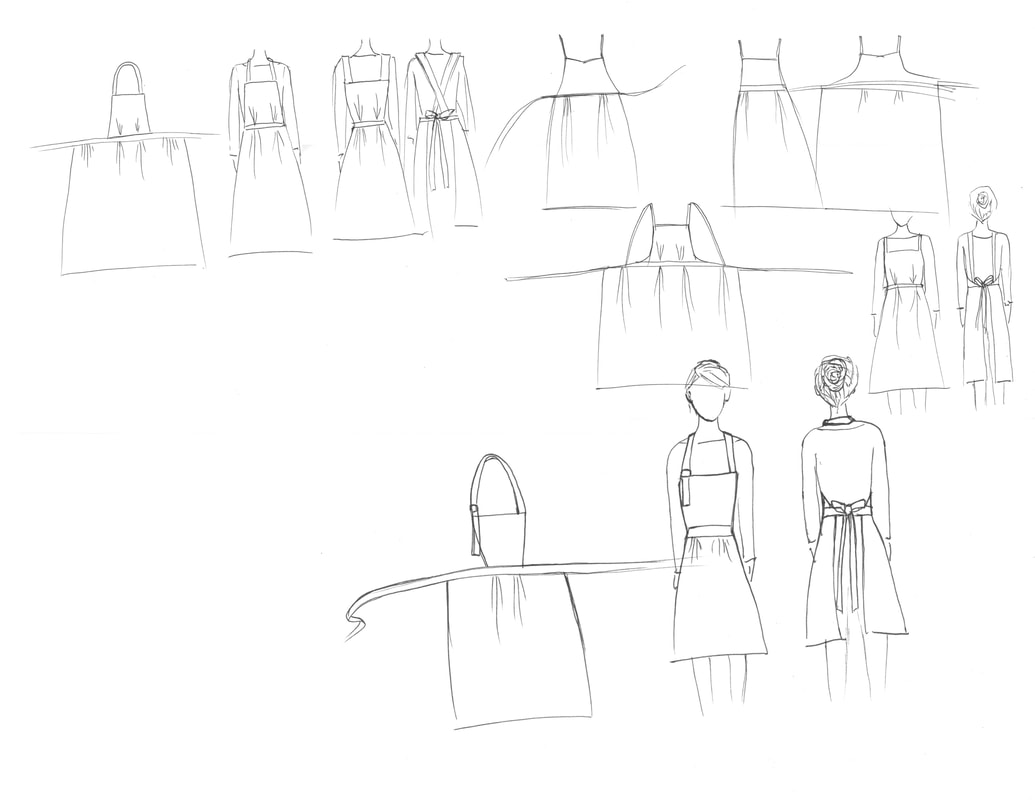 I sketched up some possible variations for the apron. I knew I wanted gathers at the waistline for a defined, feminine look. Should I have gathers on the top of the apron as well as the skirt? What about the neck strap? Should I go for the standard adjustable neck strap or consider a cross-back design? I even considered a totally avant-garde option of having super long straps that connected to the waist tie in the back, but decided it seemed a little impractical. In the end I settled for a simple adjustable neck strap, gathers only on the "skirt" portion, and a waistband/tie that was all one continuous piece and elegantly seamed into both the top and skirt portions. Once I decided on the shape of the apron, it was time to experiment with the size of the pattern pieces by draping the fabric against my own body and cutting pieces out to figure out the ideal size by trial and error. I decided on a simple trapezoid shape for the top and just a rectangle with gathers for the skirt.  Of course, as one does before sewing up any experimental new design, I made a test version in cheap muslin fabric to make sure it would fit right and also to try out construction methods so that I could figure out the best one without wasting the final fabric. 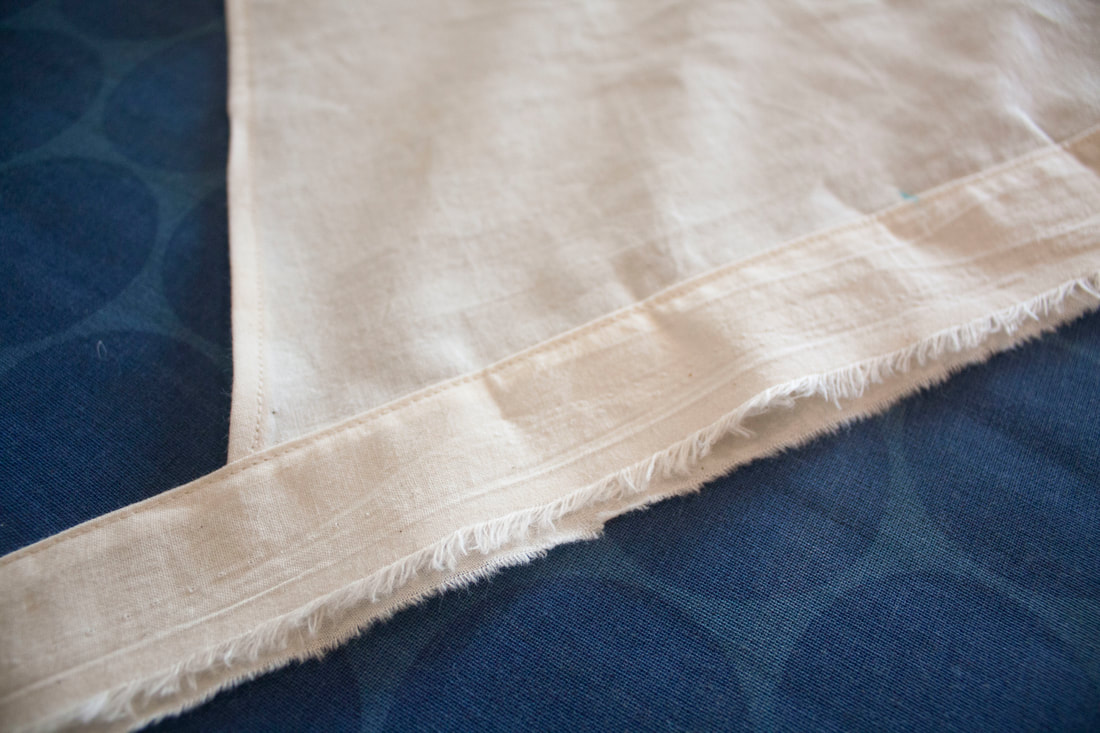 This is a close-up of the join between the top part and the waistband. Ever since I discovered topstitching and its magical ability to instantly make any project look super professional, I've been in love. Also. Tip for all you seamstresses out there - press seams with an iron every chance you get! It will make your end product look so much neater if seams have been pressed before stitching. 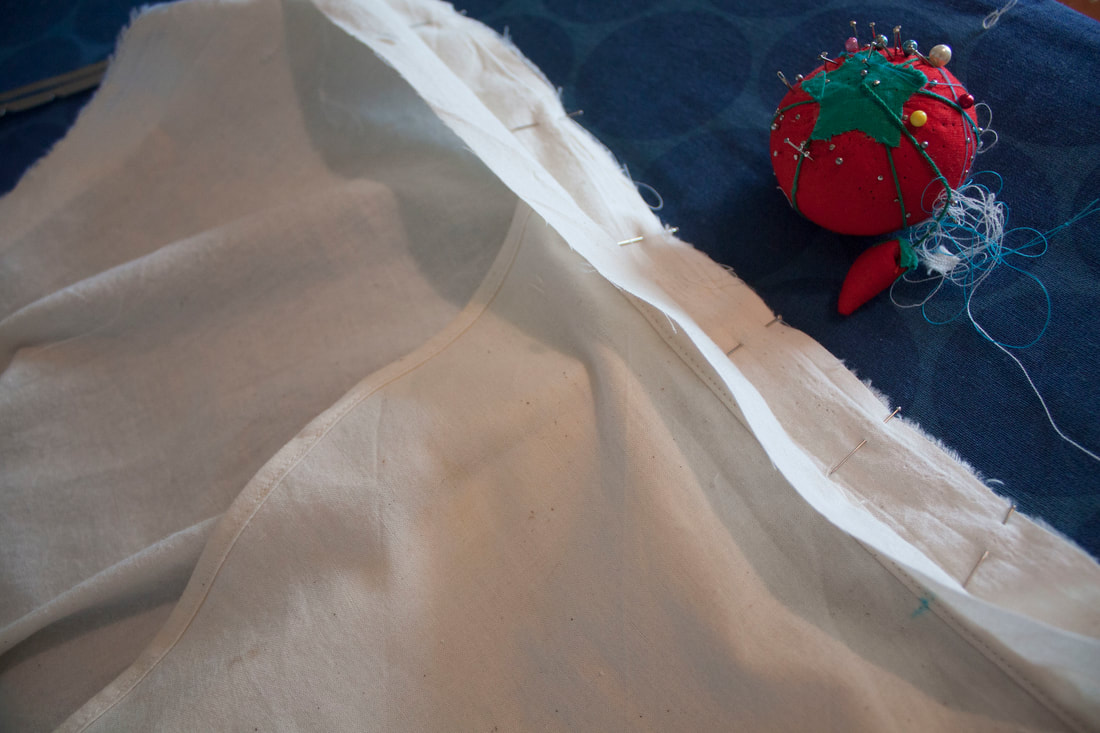 Joining the waistband to the skirt portion. Joining the waistband to the skirt portion. 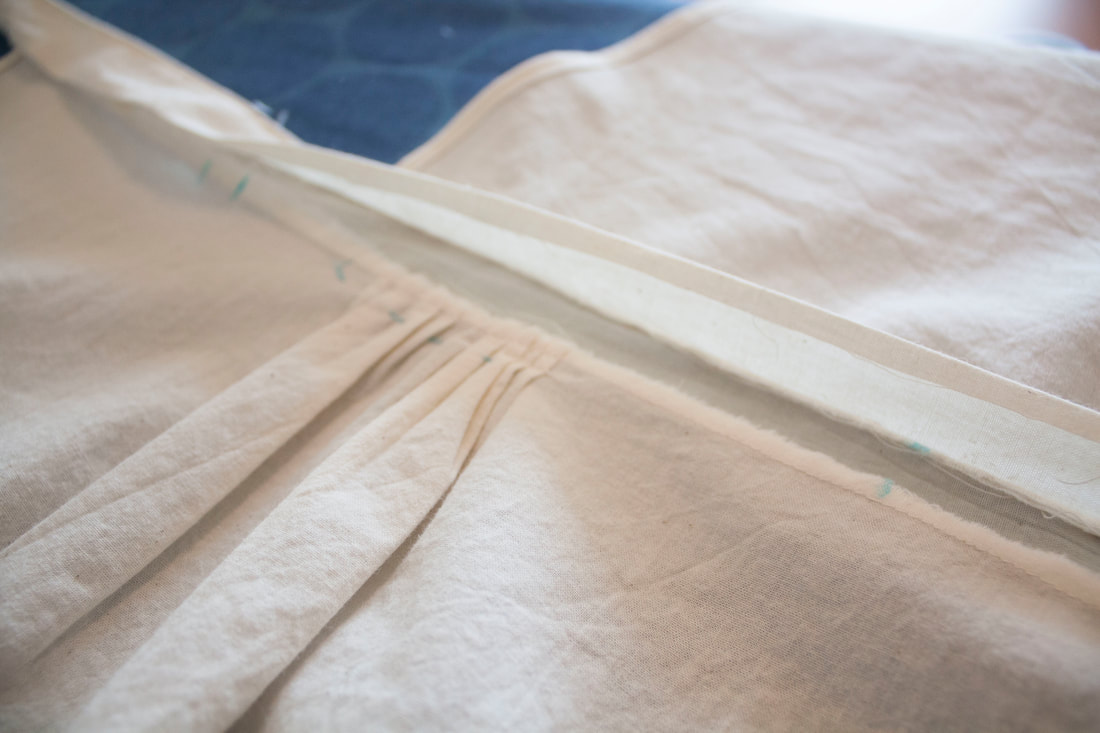 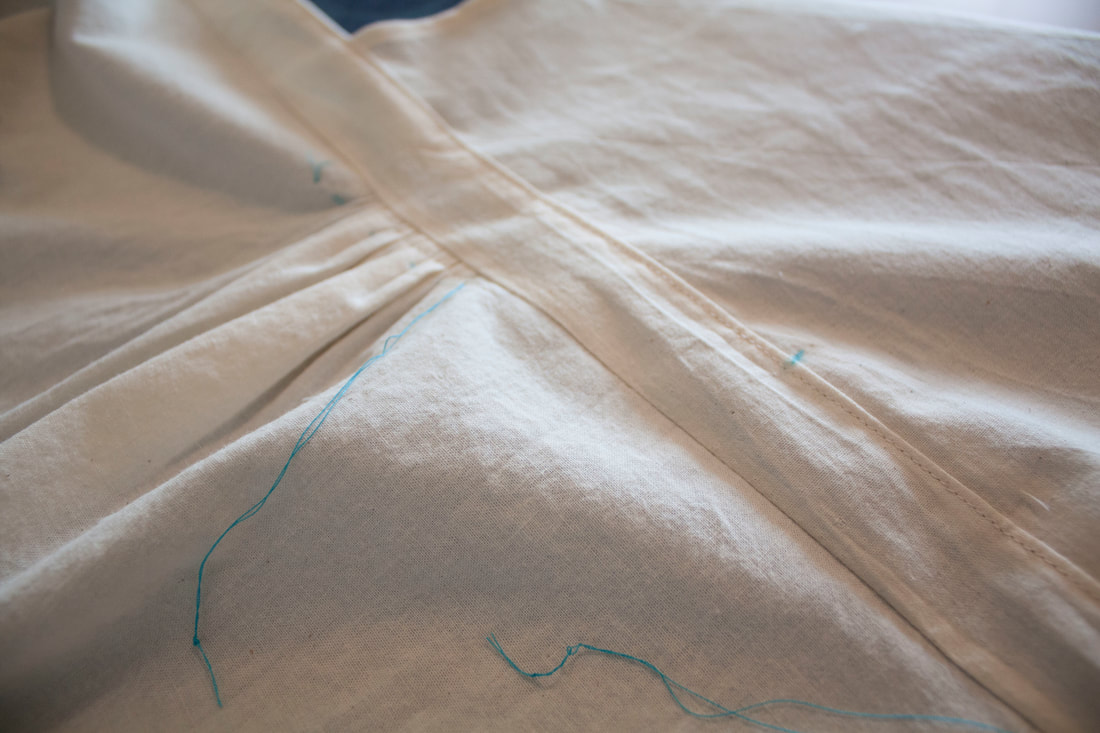 Before topstitching the seam between the waistband and skirt. CHECKING THE FIT Once the prototype was complete, I tried it on to check for fit and any other issues I should resolve in the final design. The fit was generally fine, but I realized the neck strap needed to be longer to loosen enough to comfortably remove the apron. I also decided to put the strap adjuster on the other side so that it would be easier for most people to adjust one-handed (sorry, lefties!) And of course because I, the intended user of this particular apron, am right-handed, to my 15-year-old self's great disappointment (just think how much creativity I'm missing out on...)
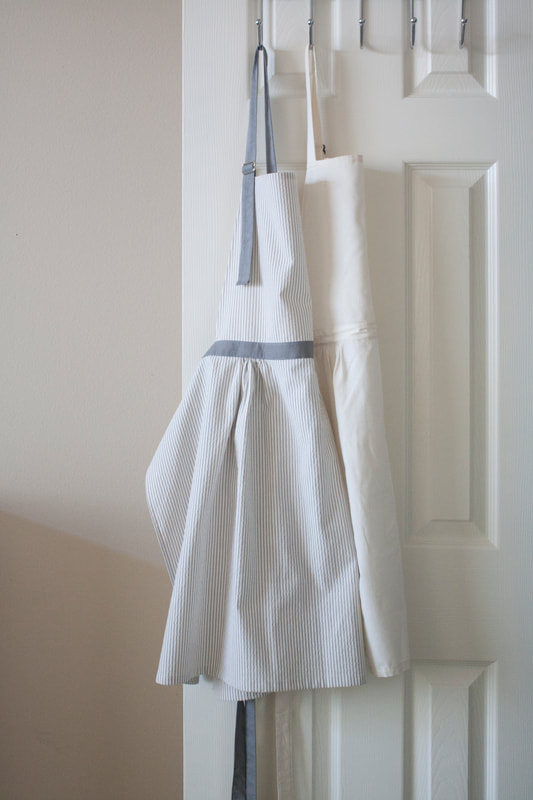
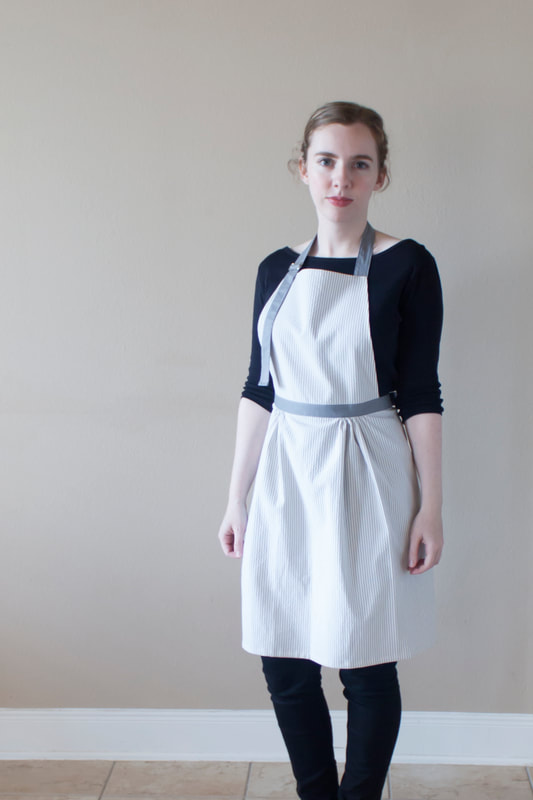
OPTIMIZING THE CONSTRUCTION While making the prototype I learned about the best-suited construction technique by trial and error, making adjustments as I went. From making the muslin prototype I realized the waistband wrinkled easily, preventing the clean and neat look I was going for. For the final apron I decided to add some fusible interfacing to the central part of the waistband to resolve this issue. Once I was finished with the prototype, I set to work making the final version, incorporating the necessary adjustments.  Attaching the fusible interfacing to the waistband. 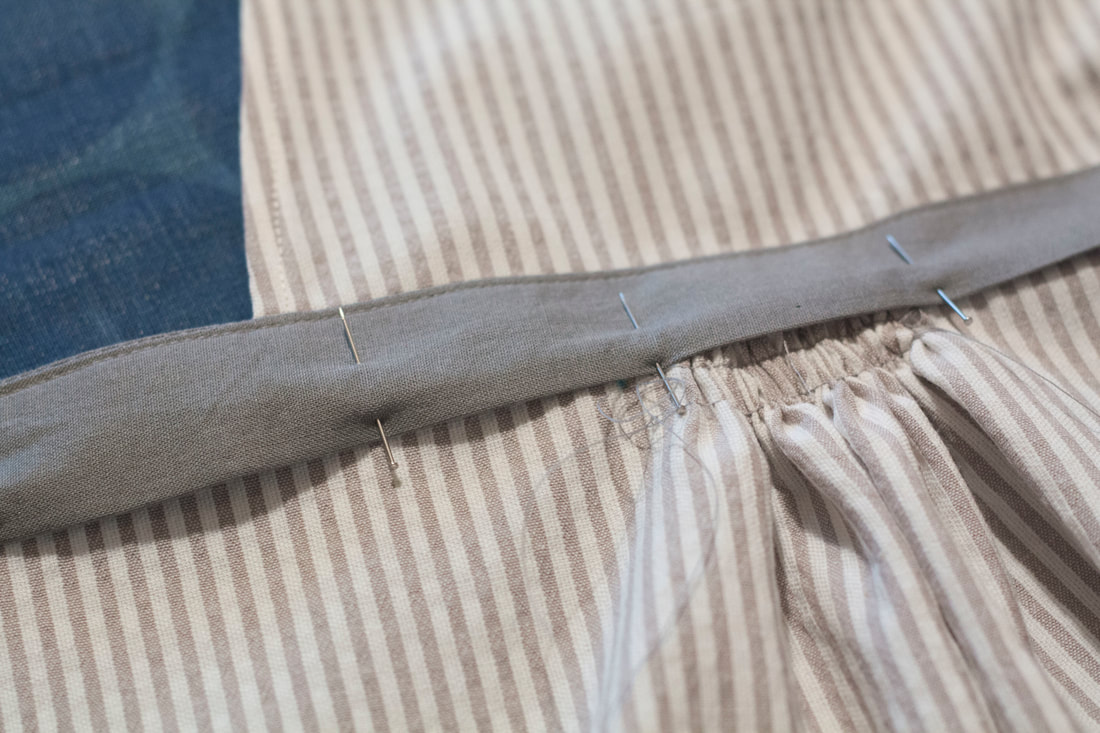 Ready to stitch the skirt onto the waistband. THE FINISHED PRODUCT 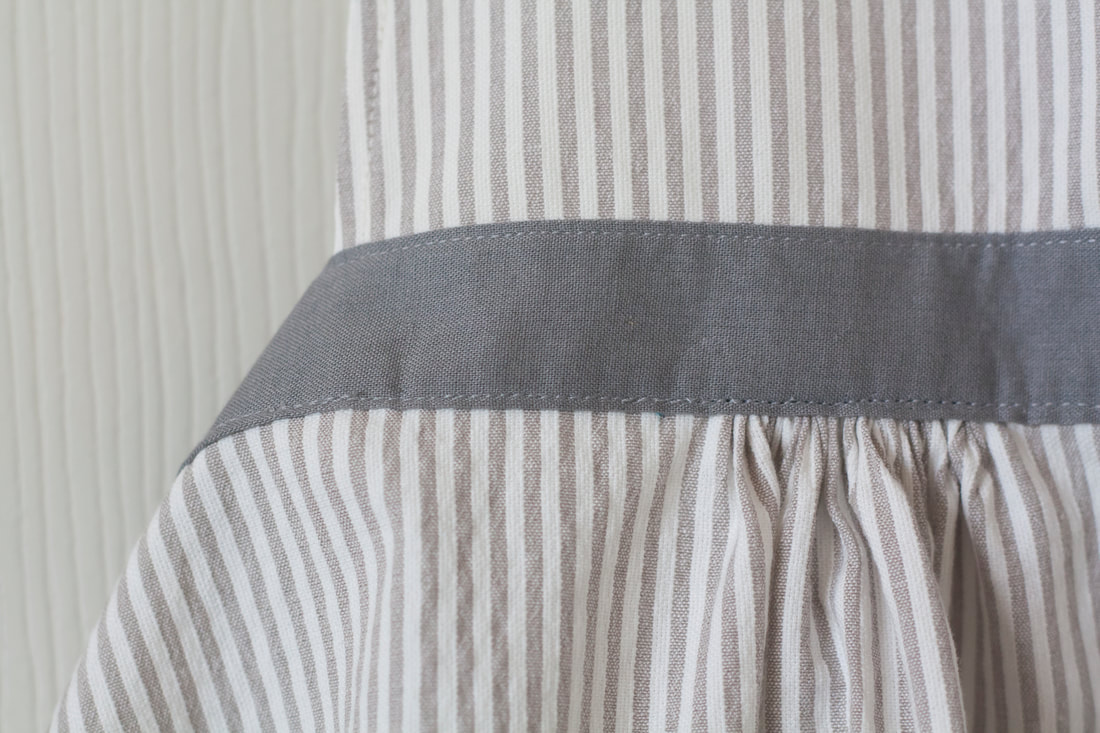 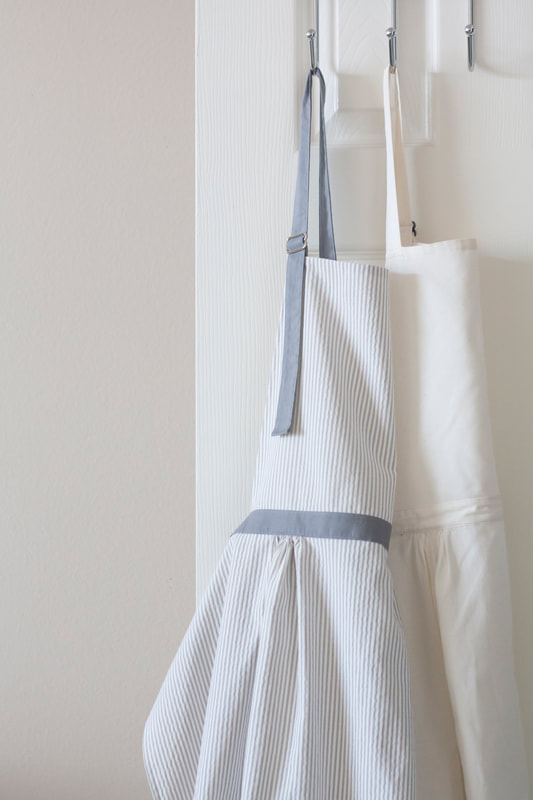
0 Comments
Leave a Reply. |
Archive
September 2018
TOPICs
All
|
 RSS Feed
